|
1/22/2020 0 Comments final exam
0 Comments
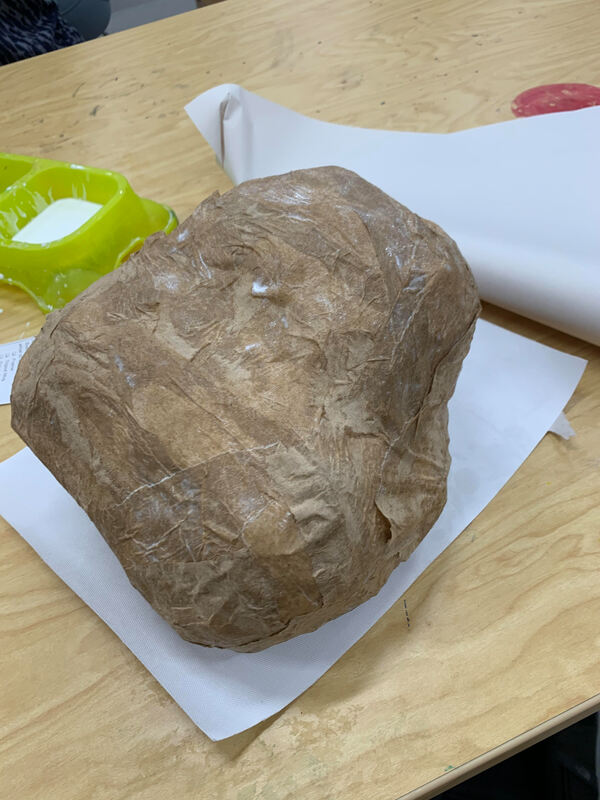
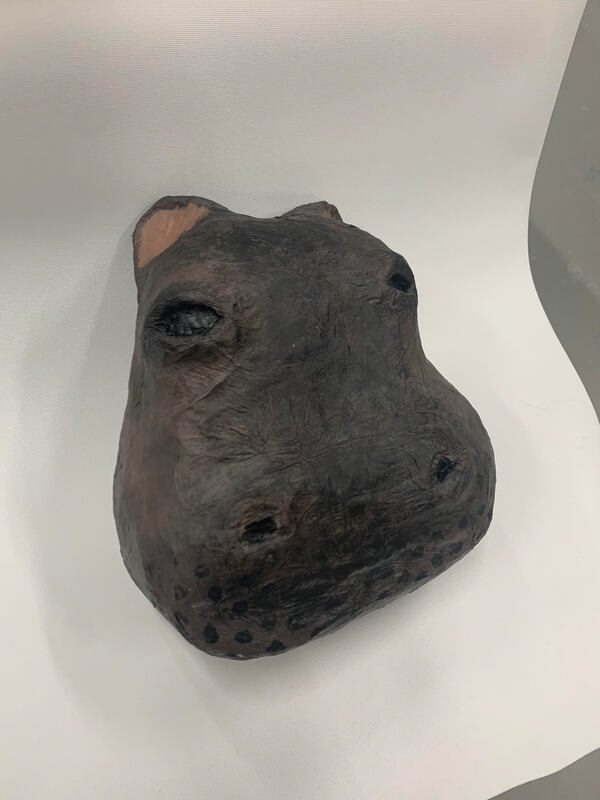
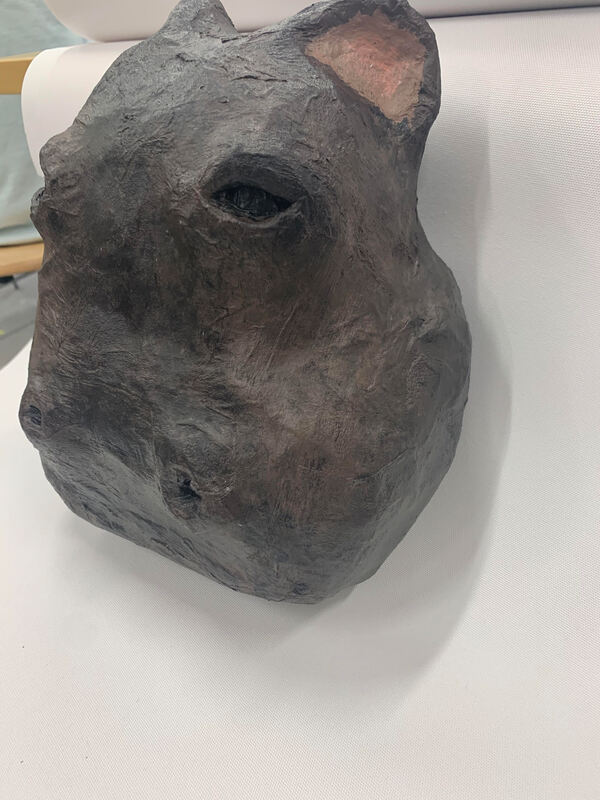
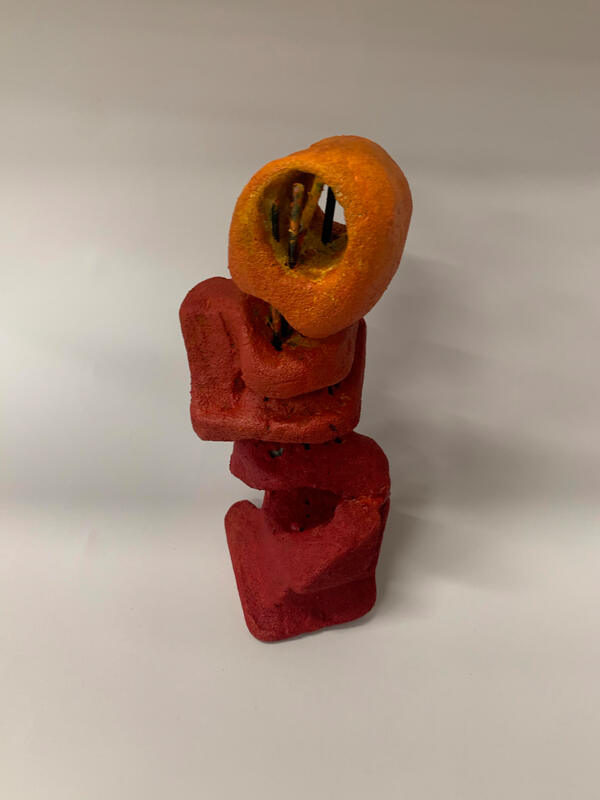
1/22/2020 0 Comments paper mache figurative project1. For paper mache, you start with making your basic shape like a circle with newspaper or paper towel, use masking tape to make to cover the paper and for different smaller shapes. Mix water and glue and cover the paper strips with it and wrap your piece in them. Do a couple layers and start to add on more things and get the basic shape. Do a final layer of viva paper towels and sand it down after drying then paint.
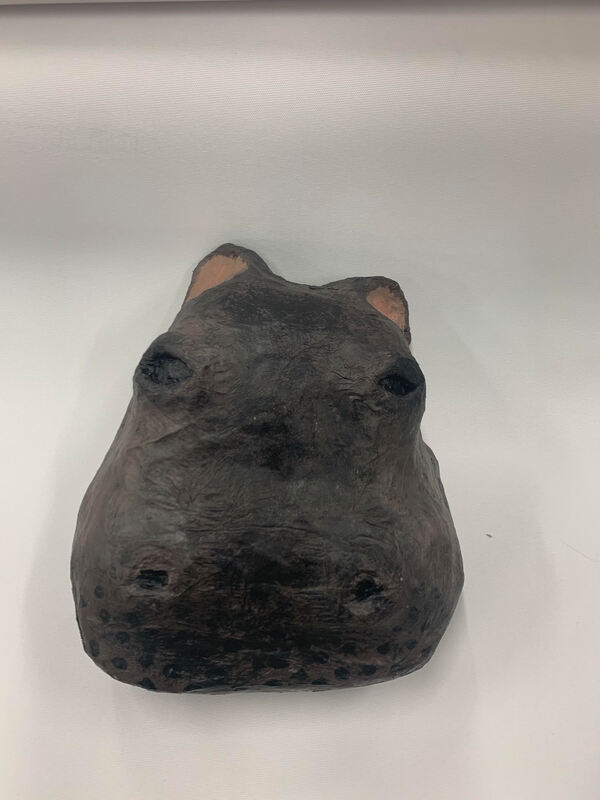
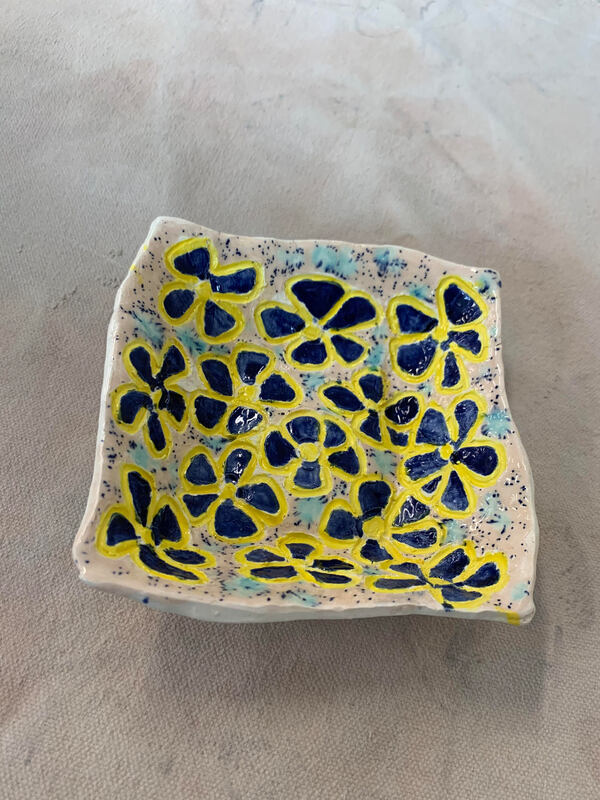
2. The painting on my piece was successful because its the colors of a hippo and I made it look like it was their actual skin with the texture of the paper towels. 3. The difficulties I had was trying to make the shape of the head, I wasn't sure how I wanted to do it so I just had to keep adding paper towel until it started looking like a hippo head. My successes was the eyes and ears, they look realistic and they were easy to make. 1/22/2020 0 Comments sgraffito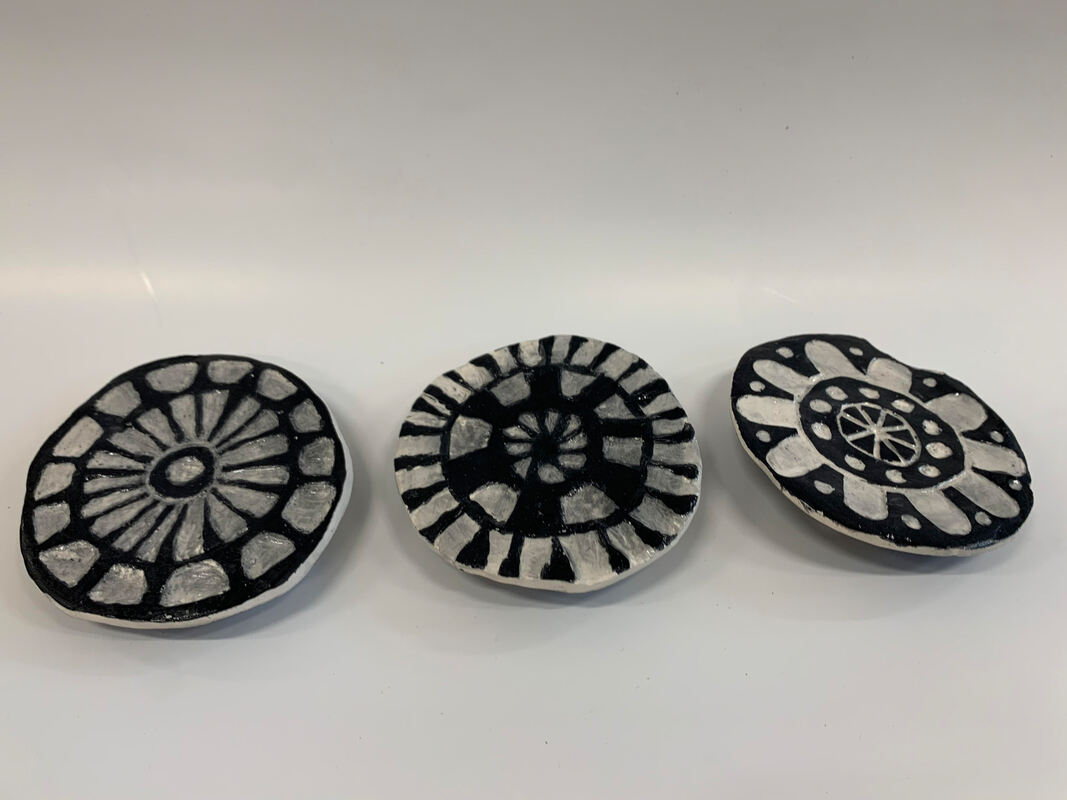 1. My process was cutting out the circles of clay and using the edge cutter to make the angled sides, I used many coats of black underglaze on the tiles. I had to trace the circles onto paper and draw my design with marker so it would transfer onto the clay. I couldn't really see the marker on the clay so I ended up just drawing the design on the clay with a dull pencil and I used the mini ribbon tool to cut out the shapes. I glazed the tiles and they came out great.
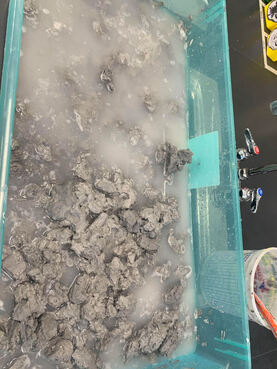
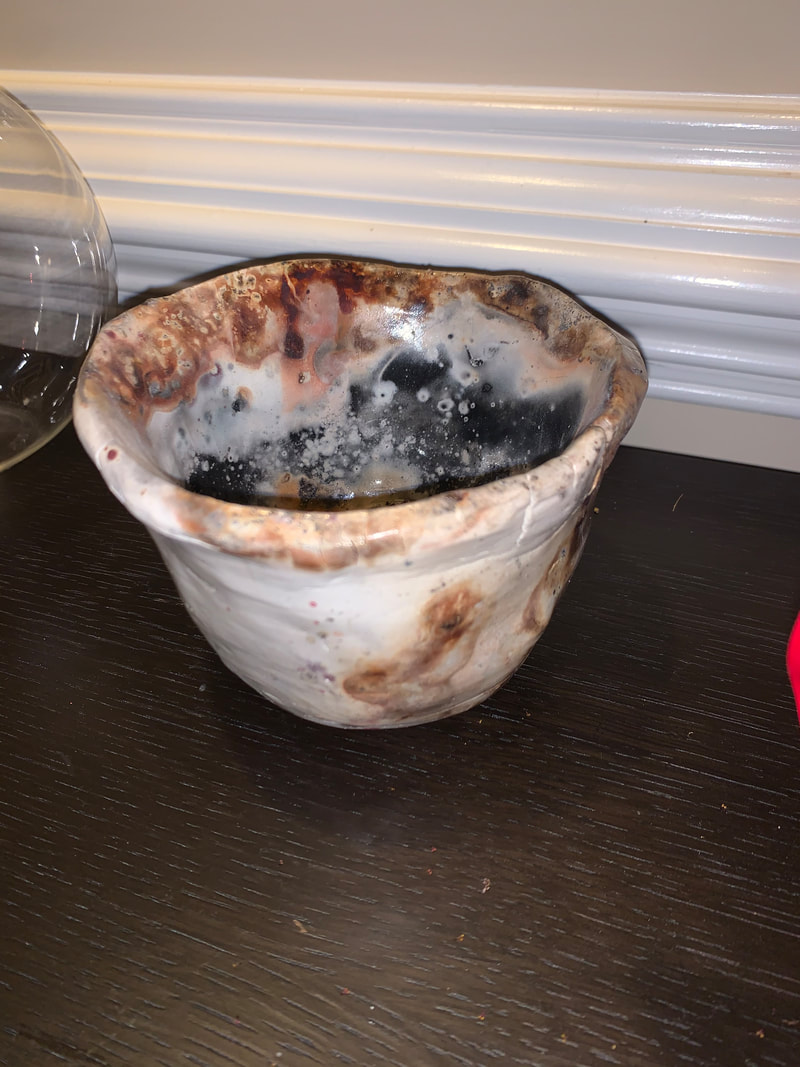
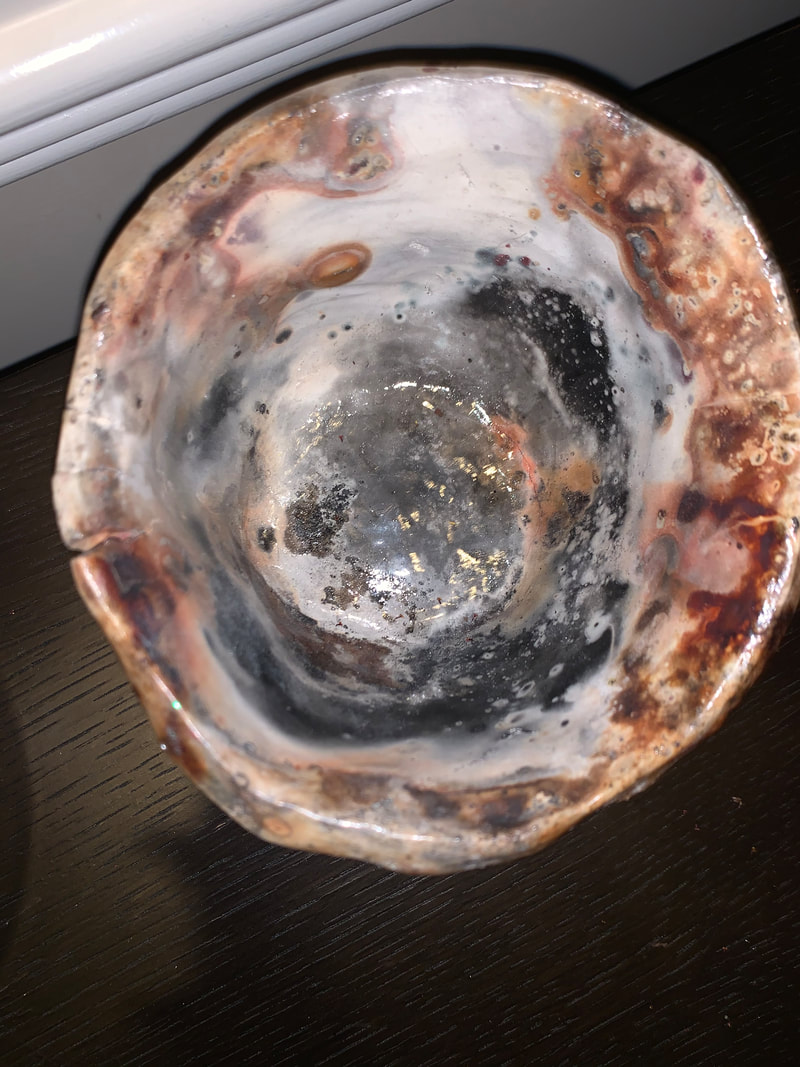
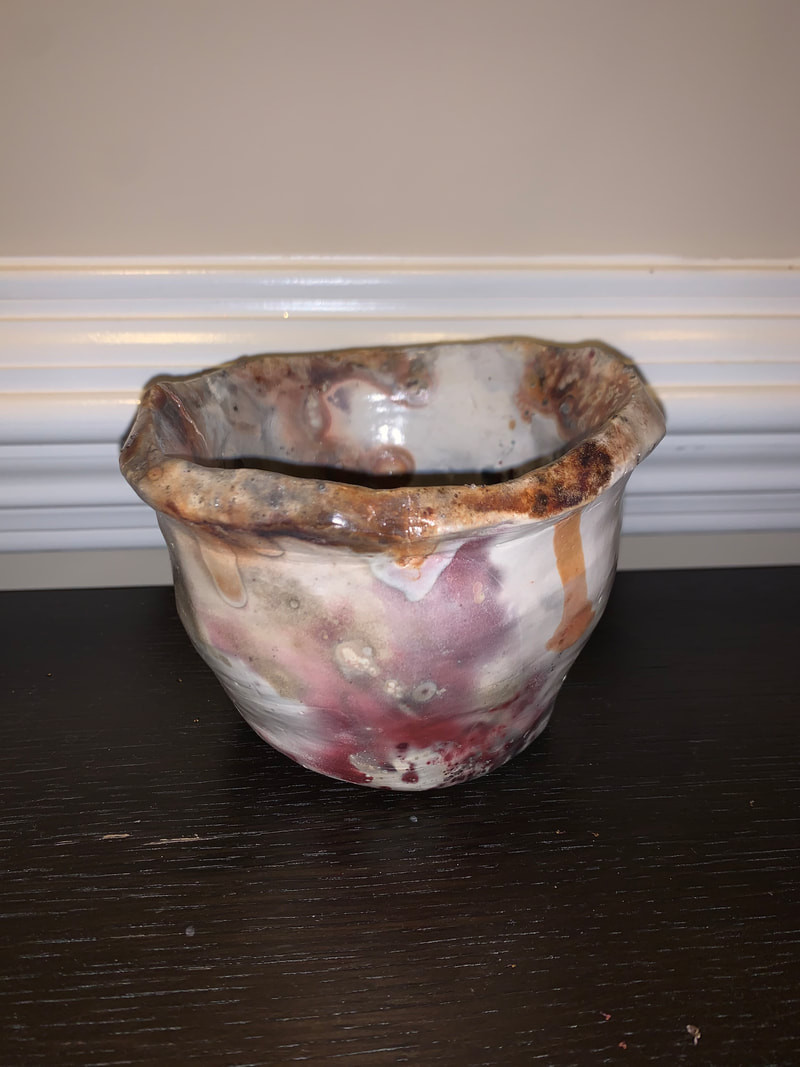
2. I think the sgraffito process is fairly easy and not hard to follow. It does take time if you're making something with lots of detail but in the end it looks very nice. Since you can use different colors of underglaze, there is so many options for what to put on it. 3. My piece was successful because all the tiles look alike in some way, so they would look great in a set for a gift. The shape was easy to make so it wasn't hard to make the tiles identical. If I were to do this project again, I would do a more detailed design and maybe add color on the tiles. Also put the cork bottom on them because I forgot to do that for these. 1/9/2020 0 Comments pit fire1. The process of pit fire ceramics is you first have to make a piece like a bowl, vase, cup, ect.,then you collect materials to burn onto the piece. For example, wood, dog food, copper, egg shells, bones, salt, all these things will burn different colors onto your piece in the pit fire. After you warp all the materials around your piece, place them in a pit fire and cover it so everything will burn, in the end your piece will be colorful and you can spray it to make it shiny.
2. The colors in my piece were successful, especially the inside of the bowl because I used a lot of different items that burned onto the bowl. If I were to do this project again, I would have made a vase and put lots of materials on it so it would be very colorful 3. The materials I used was mostly salt and sawdust, I put in a turkey bone and handfuls of dog good. I used a couple tea bags and egg shells. 1/9/2020 0 Comments greek pottery paper story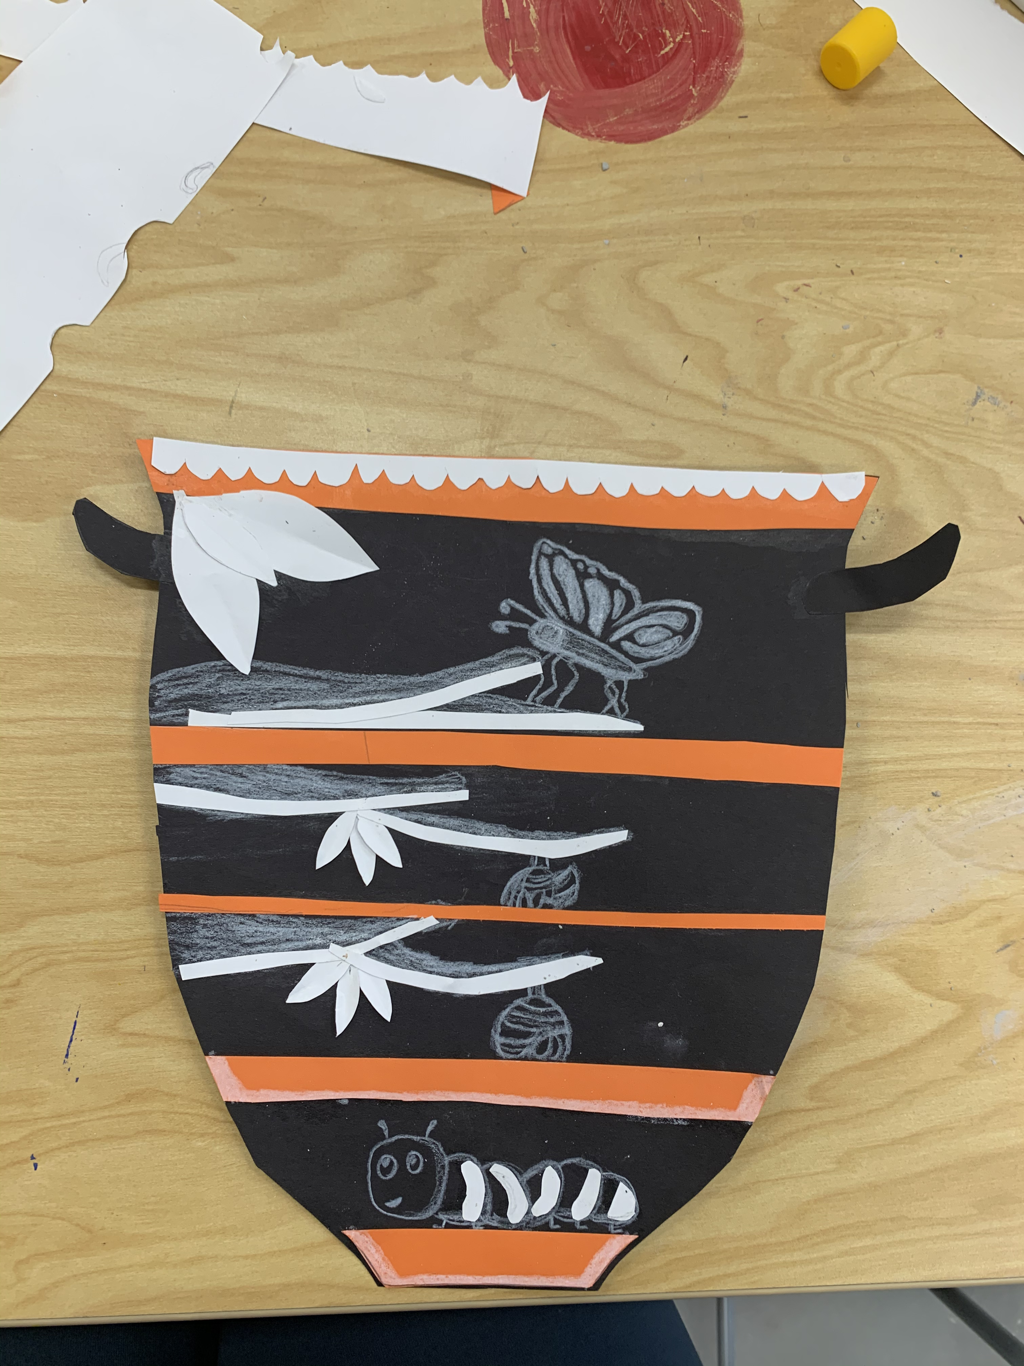 1. My vase is called Bell Krater, it stood in the dining room and was used for watering down wine.
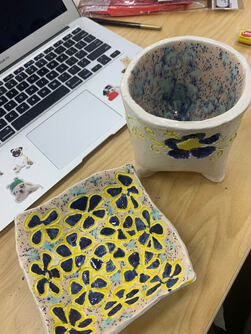
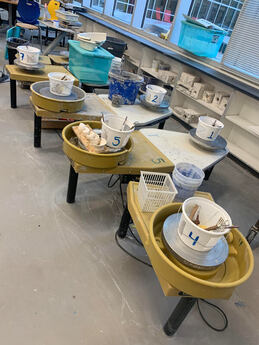
2. The story I made was the life cycle of a butterfly. Sgraffito: A form of decoration made by scratching through a surface to reveal a lower layer of a contrasting color, done in plaster or stucco walls, or in slip on ceramics before firing. Registers: Each section on the pottery 12/11/2019 0 Comments tripod mug & bowl
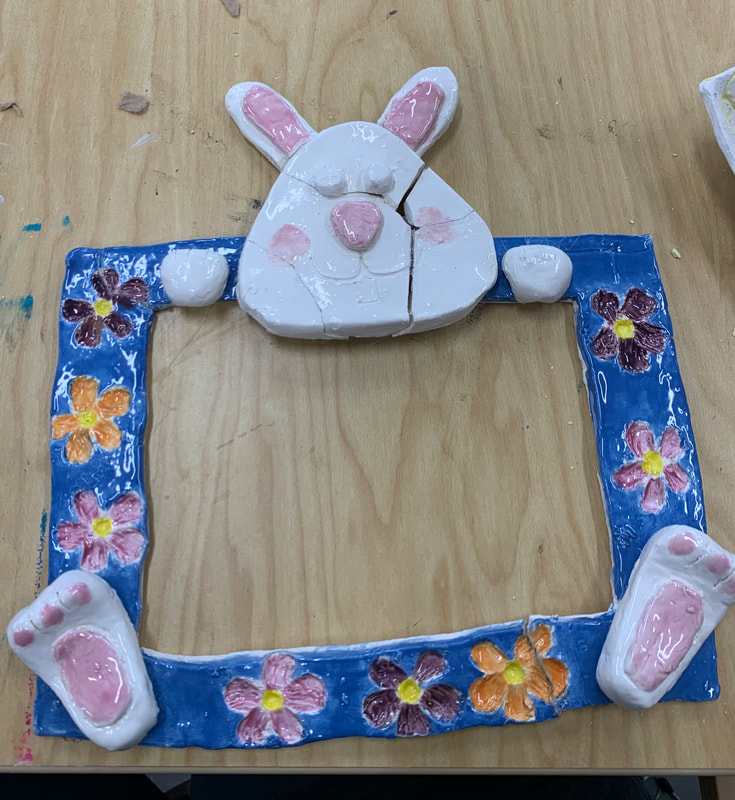
11/24/2019 0 Comments Frame
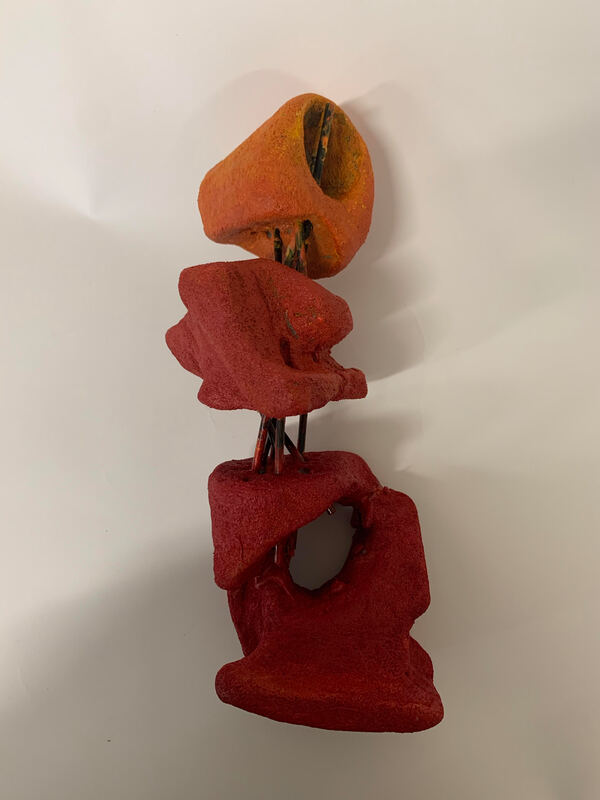
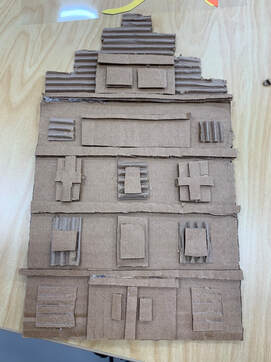
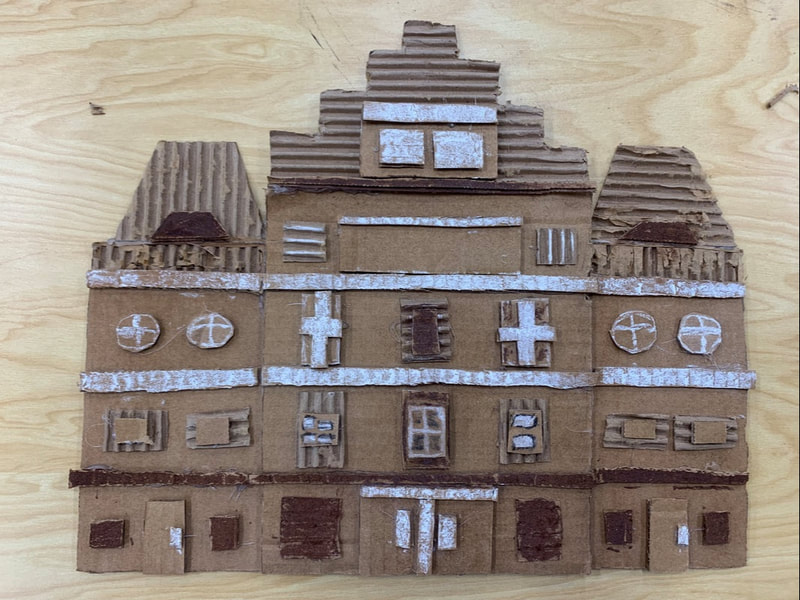
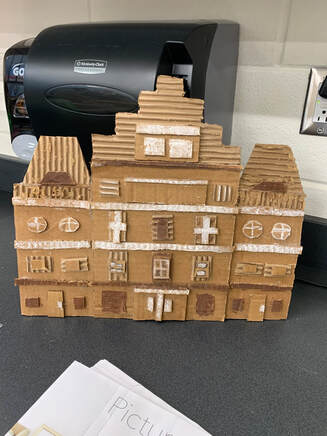
8/31/2019 0 Comments relief sculpture with cardboardin progress
|


 RSS Feed
